
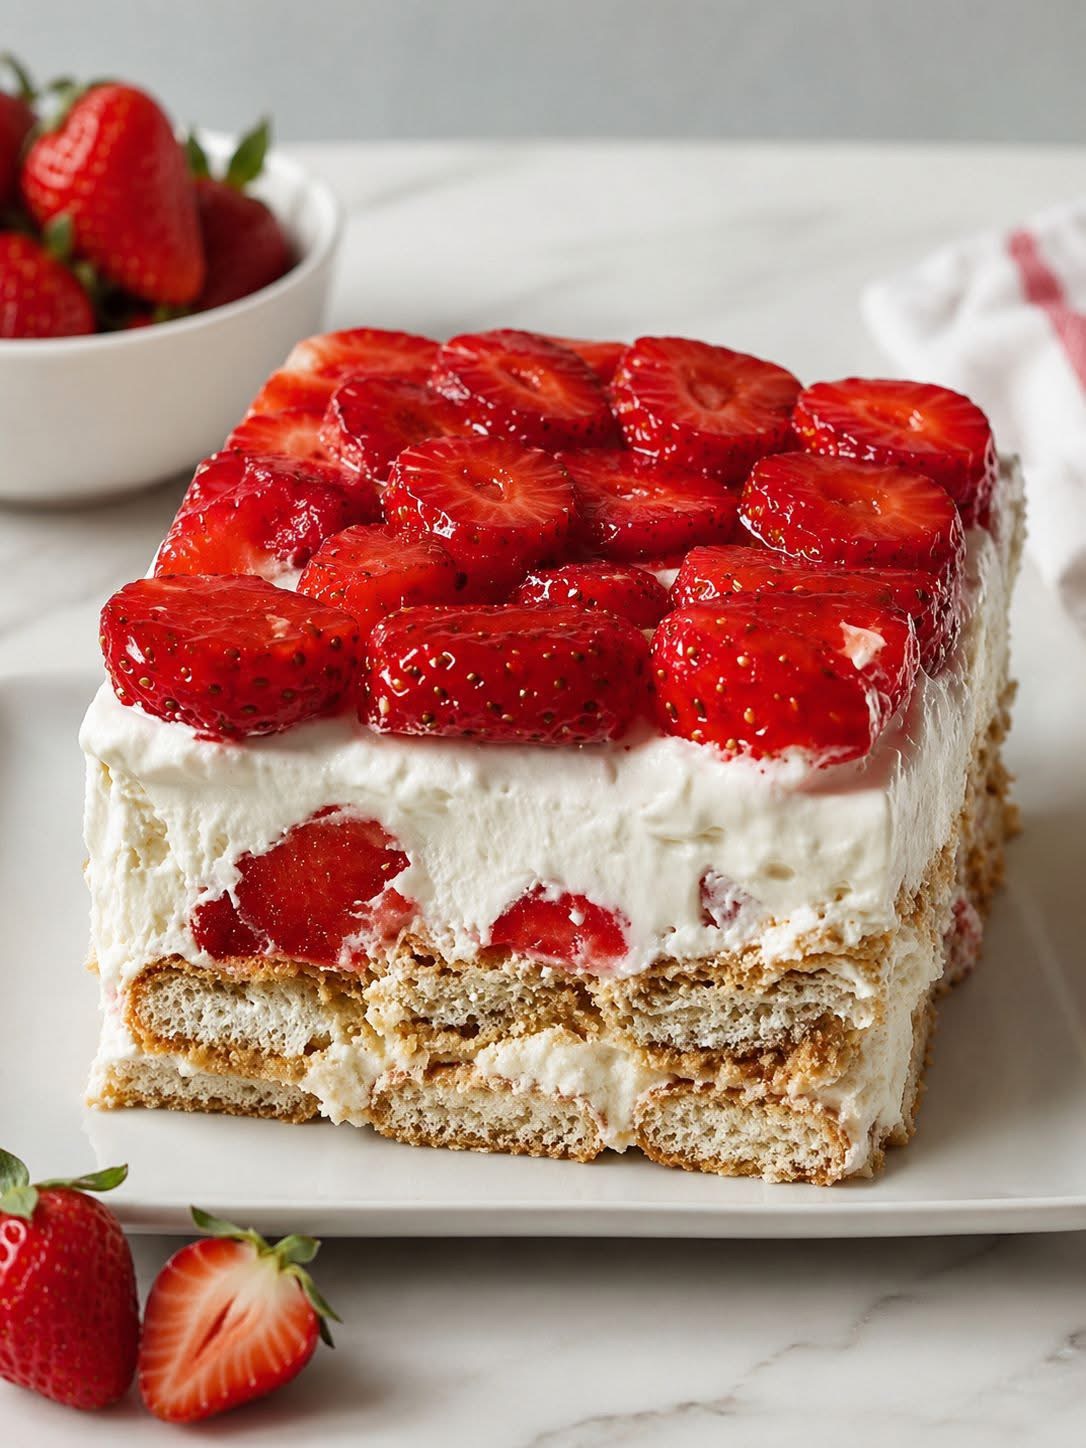
There are summer days when turning on the oven feels like an act of sheer defiance against the heat—and yet, the craving for something cool, creamy, and utterly decadent persists. Enter this No-Bake Strawberry Cheesecake Delight, a dessert that delivers all the velvety richness of a classic cheesecake without a single minute of baking. It is the kind of dessert that feels effortlessly elegant, with its buttery graham cracker crust, its silky, tangy cream cheese filling, and its glossy, jewel-toned strawberry topping that glistens like stained glass. Whether you are hosting a backyard barbecue, celebrating a birthday, or simply treating yourself to something special on a lazy afternoon, this cheesecake is guaranteed to earn gasps of admiration and requests for seconds. Best of all, it comes together in minutes and sets in the refrigerator, leaving you free to enjoy your company—or your peace and quiet—while it chills to perfection.
For the Crust
-
2 cups graham cracker crumbs (about 1 ½ sleeves of crackers)
-
½ cup (1 stick) unsalted butter, melted
-
¼ cup granulated sugar
-
Pinch of salt (to balance the sweetness)
For the Creamy Cheesecake Filling
-
16 ounces (2 blocks) cream cheese, fully softened to room temperature
-
1 cup powdered sugar
-
1 teaspoon vanilla extract
-
2 cups cold heavy whipping cream
-
¼ cup granulated sugar
For the Strawberry Topping
-
1 pound fresh strawberries, hulled and sliced (about 3 cups)
-
½ cup granulated sugar
-
2 tablespoons cornstarch
-
½ cup water
-
1 tablespoon fresh lemon juice (brightens the berry flavor)
For Garnish (Optional)
-
Fresh strawberry slices, for arranging on top
-
Fresh mint leaves, for a pop of green
Preparing the Crust
Begin by making the foundation of your cheesecake—that irresistible, buttery graham cracker crust. In a medium bowl, combine the graham cracker crumbs, granulated sugar, and a pinch of salt, stirring until the dry ingredients are evenly distributed. Pour in the melted butter and stir with a fork or spatula until the mixture resembles wet sand and holds together when pressed between your fingers.
Transfer the crumb mixture into a 9-inch springform pan or a deep 9-inch pie dish. Press the crumbs firmly into the bottom and about an inch up the sides of the pan, using the flat bottom of a measuring cup or a glass to create a compact, even layer. This pressing step is crucial—a loose crust will crumble when you slice the cheesecake. Once the crust is firmly packed, place it in the refrigerator to chill and set while you prepare the filling.
Crafting the Creamy Filling
In a large mixing bowl, beat the softened cream cheese with an electric mixer on medium speed until it is completely smooth and free of lumps—this should take about two to three minutes. Scrape down the sides of the bowl frequently to ensure every bit of cream cheese is incorporated. Add the powdered sugar and vanilla extract, beating until the mixture is light, fluffy, and well-combined.
In a separate chilled bowl, pour in the cold heavy whipping cream and the granulated sugar. Whip the cream with an electric mixer on medium-high speed until stiff peaks form—the cream should hold its shape firmly when you lift the beaters. This step takes about three to five minutes, depending on the power of your mixer.
Gently fold the whipped cream into the cream cheese mixture in three additions, using a rubber spatula and taking care not to deflate the air you have just whipped into the cream. Fold just until the mixture is uniform and no streaks remain—overmixing can cause the filling to become dense rather than light and airy.
Spoon the creamy filling into the chilled crust, spreading it evenly with a spatula. Smooth the top as best you can, as this will be the canvas for your beautiful strawberry topping. Return the cheesecake to the refrigerator while you prepare the strawberry layer.
Making the Strawberry Topping
In a medium saucepan, combine the sliced strawberries, granulated sugar, cornstarch, water, and lemon juice. Stir everything together until the cornstarch is completely dissolved and the strawberries are coated in the sugary mixture.
Place the saucepan over medium heat and cook, stirring frequently, as the mixture comes to a gentle simmer. The strawberries will release their juices, and the liquid will begin to thicken and turn glossy. Continue cooking for about five to eight minutes, stirring constantly, until the sauce has thickened to a syrupy consistency and the strawberries have softened slightly but still hold their shape. Remove the saucepan from the heat and let the topping cool to room temperature. It will continue to thicken as it cools, so do not be alarmed if it seems a bit loose when you first take it off the stove.
Assembling the Cheesecake
Once the strawberry topping has cooled, retrieve the cheesecake from the refrigerator. Pour the topping over the cream cheese filling, spreading it gently into an even layer that covers the entire surface. The glossy, ruby-red strawberry mixture will look absolutely stunning against the creamy white filling. For an extra touch of elegance, arrange a few fresh strawberry slices on top in a decorative pattern, and tuck a few mint leaves here and there for a vibrant green contrast.
Cover the cheesecake loosely with plastic wrap and return it to the refrigerator. Let it chill for at least four hours, though overnight is even better—this extended chilling time allows the filling to set completely, ensuring clean, beautiful slices when you are ready to serve.
Serving and Storing
When you are ready to serve, run a thin knife around the edges of the springform pan to release the cheesecake, then carefully remove the outer ring. If you used a pie dish, simply slice and serve directly from the dish. Use a sharp knife dipped in hot water and wiped clean between slices for picture-perfect pieces.
Serve the cheesecake chilled, with an extra drizzle of strawberry sauce if you have any left over, or with a dollop of freshly whipped cream on the side. It is a dessert that tastes as magnificent as it looks—creamy, tangy, sweet, and bursting with bright, fresh strawberry flavor.
Leftovers can be stored in the refrigerator, covered, for up to four days. This cheesecake does not freeze particularly well due to its creamy, no-bake texture, so it is best enjoyed within a few days of making it—not that it will last that long, of course.
A Few Grace Notes
This recipe is wonderfully versatile, inviting you to make it your own. Swap the strawberries for blueberries, raspberries, or a mixed berry medley for a different flavor profile. Add a tablespoon of lemon zest to the cream cheese filling for an extra burst of citrus brightness. For a chocolate twist, use crushed chocolate wafer cookies instead of graham crackers for the crust, and top the cheesecake with chocolate shavings alongside the strawberries.
If you are short on time, you can use a store-bought strawberry pie filling or glaze instead of making the topping from scratch—though the fresh, homemade version is truly something special and well worth the few extra minutes.
No-Bake Strawberry Cheesecake Delight is the kind of dessert that earns its name with every single bite—delightful in flavor, delightful in texture, and delightful in its effortless elegance. It is a crowd-pleaser in the truest sense, destined to become a summer staple in your dessert repertoire for years to come.