
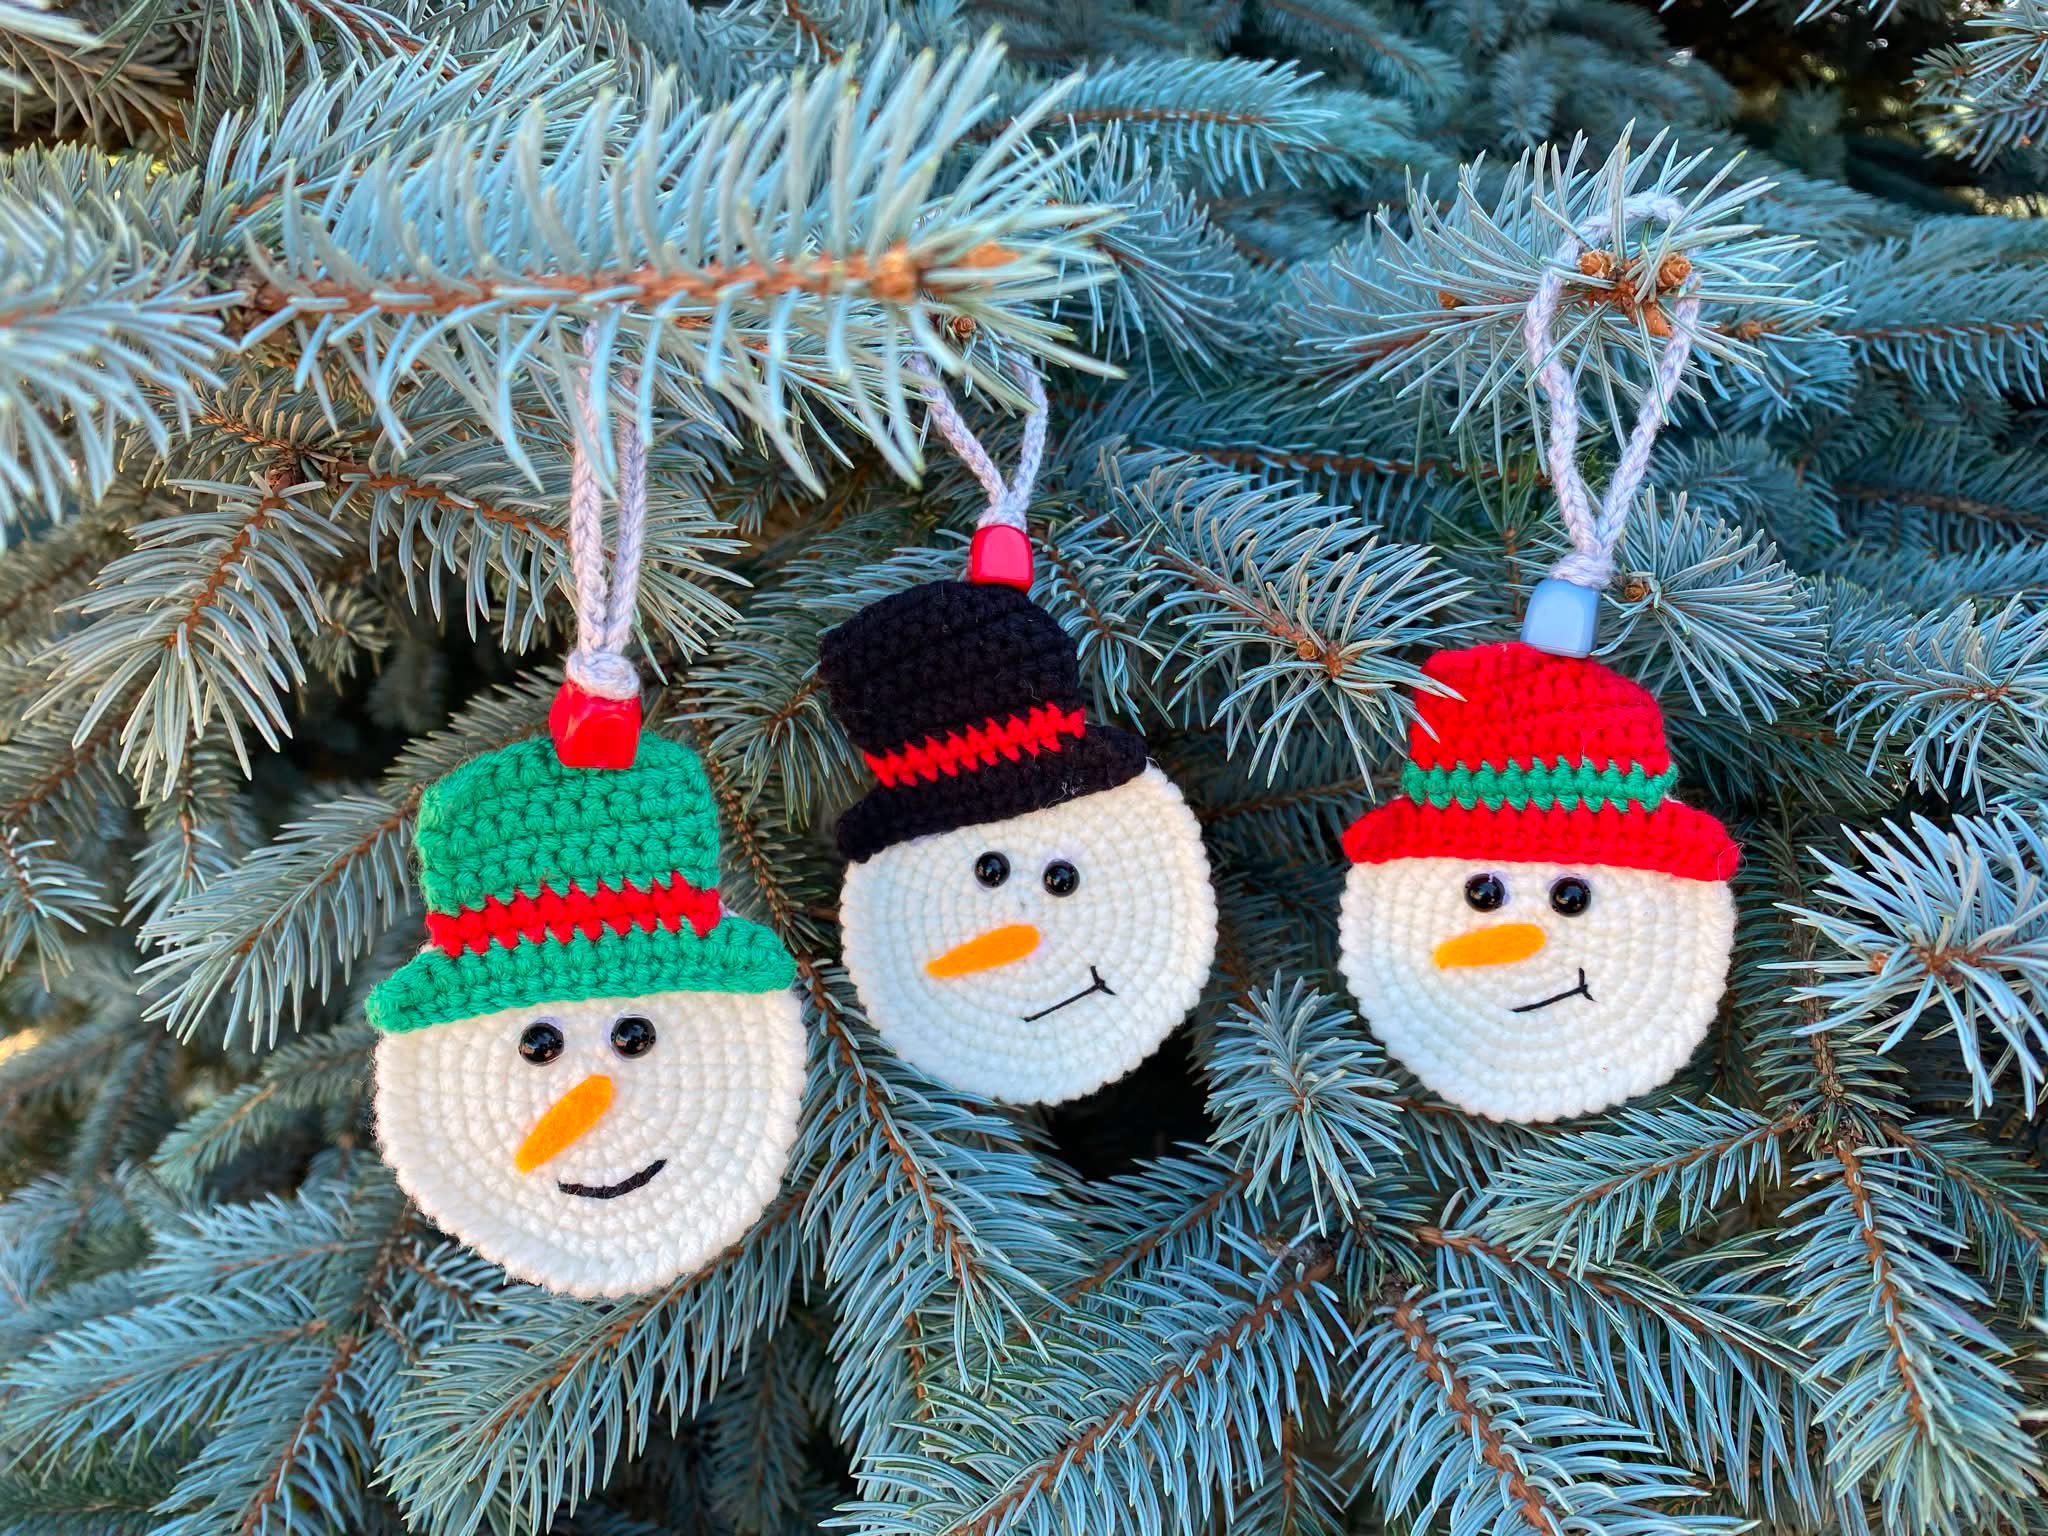
What you’ll need
- White yarn
- Green, red, and black yarn
- Small amount of orange yarn/felt for the nose
- Crochet hook around 3–4 mm
- Black safety eyes or black yarn
- Stuffing
- Tapestry needle
- Scissors
- White/cream or pink cord for hanging
- Basic snowman
1. Crochet the face
Make a flat white circle using single crochet (US terminology).
A simple version:
- Round 1: 6 sc into a magic ring
- Round 2: 2 sc in each stitch → 12
- Round 3:
(sc, 2 sc)repeat → 18 - Round 4:
(2 sc, 2 sc)repeat → 24 - Round 5:
(3 sc, 2 sc)repeat → 30 - Round 6:
(4 sc, 2 sc)repeat → 36 - Continue increasing until the circle is about 7–9 cm (3–3½ in) wide.
Make two white circles, or make one circle and use a second piece as the backing.
Add a little stuffing between them and crochet/sew the edges together.
Make the hat
The hats in your picture are essentially crocheted beanies.
For the green hat:
- Start with a magic ring.
- Crochet several increasing rounds in green until it fits the top of the snowman’s head.
- Crochet a few rounds without increasing to create the height.
- Make a wider brim by increasing around the bottom.
- Add a red stripe by changing yarn for one or two rounds.
For the red hat, do the same thing but reverse the colors.
For the black hat, crochet a black beanie and add a red stripe around it.
Face
- Sew on two small black eyes.
- Make the carrot nose with orange yarn, felt, or embroidery.
- Embroider the smiling mouth with black yarn.
Hanging loop
At the top of the hat, attach a piece of braided or twisted yarn/cord. Tie the two ends together so it can hang on the Christmas tree.