
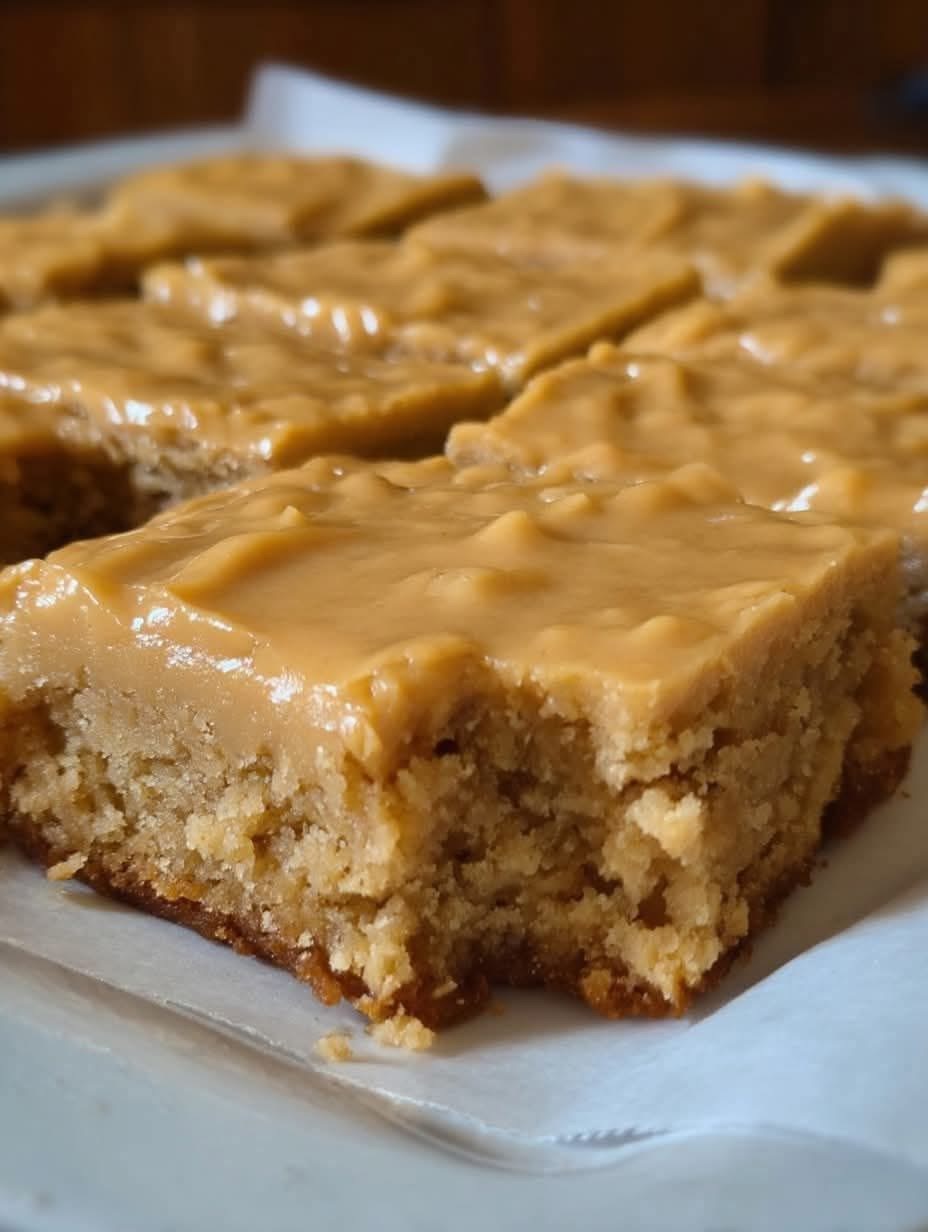
There are certain flavors that instantly transport you back to childhood—the smell of a school cafeteria, the clatter of lunch trays, and the anticipation of that one dessert you always hoped would be on the menu. Peanut Butter Lunch Lady Bars are exactly that. These soft, chewy, peanut-buttery bars, topped with a rich, fudgy chocolate icing, were the highlight of countless school lunches for generations of kids. They are the kind of treat that makes you feel like you are sneaking a dessert from the cafeteria line, even when you are enjoying them in your own kitchen. With their perfect balance of sweet, salty, and chocolatey, these bars are pure nostalgia in every bite—and they are just as irresistible to adults as they were to the lunchroom crowd.
For the Peanut Butter Bars
-
1 cup unsalted butter, softened
-
1 cup creamy peanut butter
-
1 cup granulated sugar
-
1 cup packed light brown sugar
-
3 large eggs
-
1 teaspoon vanilla extract
-
2 ½ cups all-purpose flour
-
1 teaspoon baking soda
-
½ teaspoon salt
-
1 ½ cups old-fashioned rolled oats (optional, but adds that classic cafeteria texture)
For the Chocolate Frosting
-
½ cup unsalted butter
-
⅓ cup unsweetened cocoa powder
-
¼ cup milk or heavy cream
-
3 cups powdered sugar, sifted
-
1 teaspoon vanilla extract
-
Pinch of salt (to balance the sweetness)
Making the Bars
Preheat your oven to 350°F (175°C). Grease a 9×13-inch baking pan generously with butter or nonstick spray, and for extra insurance, line it with parchment paper that hangs over the edges like handles—this will make lifting the bars out much easier later on.
In a large mixing bowl, cream the softened butter and peanut butter together until the mixture is light, fluffy, and well-combined. This should take about two to three minutes with an electric mixer. Add the granulated sugar and brown sugar, beating until the mixture is creamy and smooth.
Add the eggs one at a time, beating well after each addition to ensure they are fully incorporated. Stir in the vanilla extract.
In a separate bowl, whisk together the all-purpose flour, baking soda, and salt. If you are using the rolled oats, whisk them in as well—they add a wonderful chewiness that is true to the cafeteria classic. With the mixer on low speed, gradually add the dry ingredients to the peanut butter mixture, mixing just until combined. Be careful not to overmix, as this can make the bars tough.
Spread the batter evenly into the prepared baking pan, smoothing the top with a spatula. The batter will be thick and somewhat sticky, so take your time to coax it into all the corners.
Slide the pan into the preheated oven and bake for twenty to twenty-five minutes, until the bars are golden brown and a toothpick inserted into the center comes out clean or with just a few moist crumbs attached. The edges should be just beginning to pull away from the sides of the pan. Let the bars cool completely in the pan on a wire rack before frosting.
Making the Chocolate Frosting
While the bars are cooling, prepare the frosting. In a medium saucepan over low heat, melt the butter. Once melted, whisk in the unsweetened cocoa powder until the mixture is smooth and free of lumps. Stir in the milk or cream, continuing to whisk until the mixture is glossy and well-combined.
Remove the saucepan from the heat and gradually add the sifted powdered sugar, whisking until the frosting is smooth, thick, and spreadable. Stir in the vanilla extract and a pinch of salt to balance the sweetness. If the frosting seems too thick, you can add a teaspoon or two of additional milk until it reaches your desired consistency.
Frosting and Serving
Pour the warm frosting over the cooled bars, spreading it into an even layer with a spatula. The frosting should cover the entire surface, creating that classic, glossy chocolate top that makes these bars so irresistible. For the full cafeteria experience, you can sprinkle a few chopped peanuts or a pinch of flaky sea salt over the top before the frosting sets.
Let the frosting set for about thirty minutes before slicing. Use the parchment paper handles to lift the entire slab out of the pan, then transfer it to a cutting board. Slice the bars into generous squares—traditionally, these are cut into large, shareable portions, just like the ones that came on those compartmentalized lunch trays.
Storing the Bars
Store the bars in an airtight container at room temperature for up to five days. They also freeze beautifully for up to three months—simply wrap individual bars in plastic wrap and then in foil, and thaw them at room temperature when you are ready to enjoy a taste of childhood.
A Few Grace Notes
This recipe is wonderfully adaptable to your preferences. If you love a stronger peanut butter flavor, you can increase the peanut butter to one and a quarter cups. For a gluten-free version, substitute the all-purpose flour with a gluten-free baking blend—the bars are forgiving and adapt beautifully. If you want to add some crunch, fold in a half-cup of chopped peanuts or chocolate chips to the batter before baking.
For a more grown-up twist, you can add a tablespoon of instant espresso powder to the chocolate frosting, which deepens the chocolate flavor beautifully. You can also experiment with different nut butters—almond butter or cashew butter both work wonderfully in place of peanut butter.
Peanut Butter Lunch Lady Bars are more than just a dessert—they are a cherished memory, a taste of simpler times, and a reminder of the joy that a simple, sweet treat can bring. With their soft, chewy texture and their rich, fudgy topping, they are the kind of bars that make you feel like a kid again, even when you are enjoying them in your grown-up kitchen.