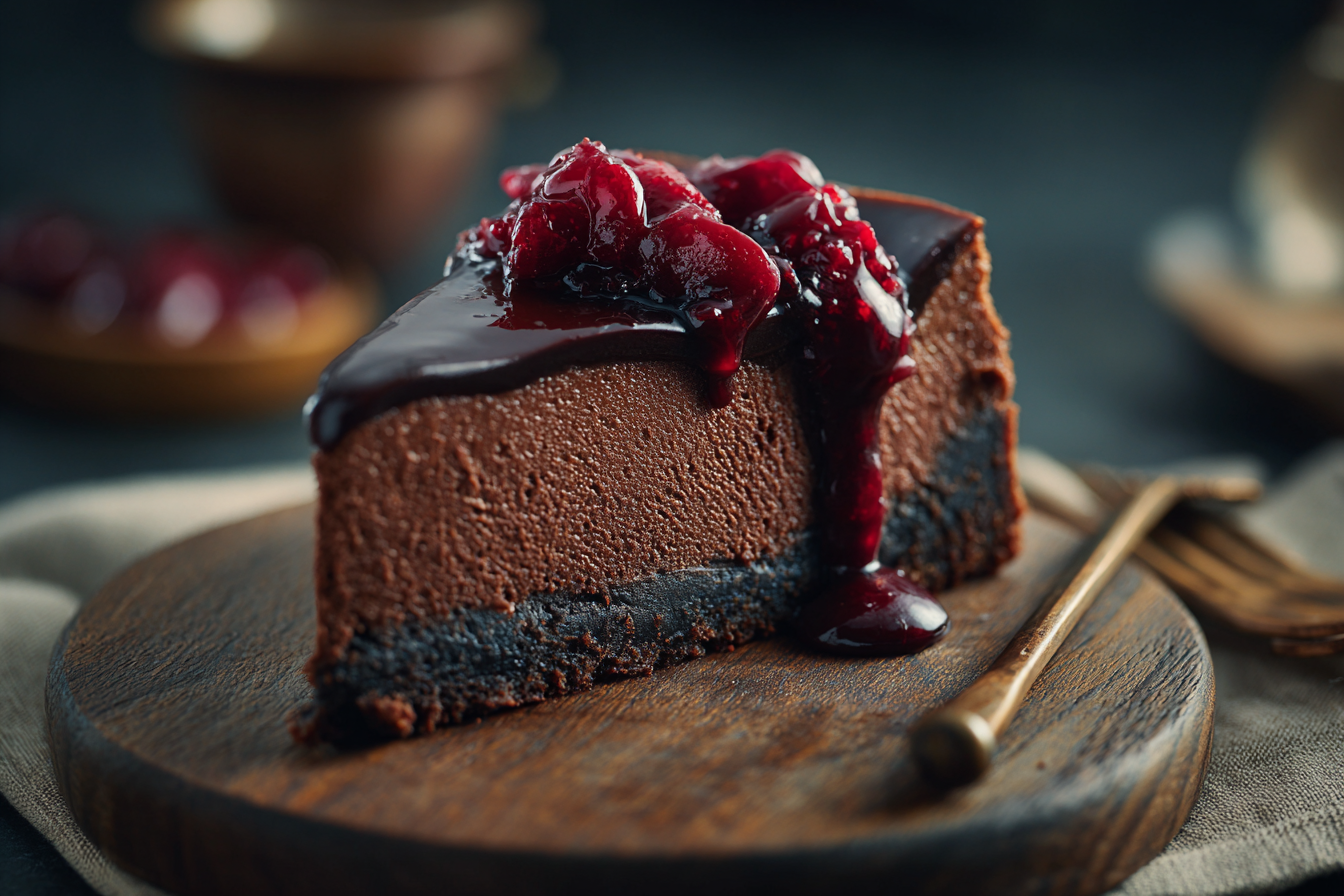
Is there anything more indulgent than the combination of rich chocolate, creamy cheesecake, and luscious cherries? If you’re a dessert lover (or a full-blown sweet tooth), this Cherry Chocolate Cheesecake is the dreamy dessert you’ve been waiting for.
Whether you’re celebrating a special occasion, impressing guests, or just treating yourself to something extraordinary, this recipe delivers a beautiful balance of flavors and textures—smooth, sweet, tart, and just the right amount of chocolatey.
In this blog post, we’ll walk you through everything: the crust, the rich chocolate cheesecake filling, and that glossy cherry topping that turns every slice into a showstopper.
🧁 Why You’ll Love This Cherry Chocolate Cheesecake
This isn’t just any cheesecake. Here’s why it’s a standout:
-
Chocolate + Cheesecake = Heaven – The base is a smooth, creamy chocolate cheesecake that melts in your mouth.
-
Perfect Crust – The buttery chocolate cookie crust adds a delightful crunch and complements the filling perfectly.
-
Fresh or Canned Cherry Topping – Customize your topping with either quick canned cherries or a homemade cherry compote.
-
Stunning Presentation – It looks as good as it tastes. A real centerpiece dessert.
🛒 Ingredients
For the Chocolate Cookie Crust:
-
1 ½ cups chocolate cookie crumbs (like Oreos, crushed)
-
¼ cup granulated sugar
-
5 tablespoons unsalted butter, melted
For the Chocolate Cheesecake Filling:
-
3 packages (8 oz each) cream cheese, softened
-
1 cup granulated sugar
-
1 teaspoon vanilla extract
-
3 large eggs
-
1 cup semi-sweet chocolate chips, melted and slightly cooled
-
½ cup sour cream
For the Cherry Topping:
Option 1: Quick Version
-
1 can (21 oz) cherry pie filling
Option 2: Homemade Cherry Compote
-
2 cups fresh or frozen pitted cherries
-
½ cup sugar
-
1 tablespoon lemon juice
-
2 tablespoons cornstarch mixed with 2 tablespoons cold water
🍽️ Instructions
Step 1: Make the Crust
-
Preheat your oven to 325°F (163°C).
-
In a medium bowl, mix chocolate cookie crumbs, sugar, and melted butter until the crumbs are evenly coated.
-
Press the mixture firmly into the bottom of a 9-inch springform pan.
-
Bake for 10 minutes, then set aside to cool while you prepare the filling.
Step 2: Prepare the Cheesecake Filling
-
In a large bowl, beat the cream cheese until smooth and creamy.
-
Add sugar and vanilla, and mix until well combined.
-
Beat in eggs, one at a time, mixing on low speed to avoid overbeating.
-
Stir in the melted chocolate and sour cream until the batter is completely smooth.
-
Pour the filling into the cooled crust and smooth the top.
Step 3: Bake the Cheesecake
-
Bake in a preheated oven for 55–65 minutes, or until the center is just set (it will jiggle slightly).
-
Turn off the oven and crack the door open. Let the cheesecake rest in the oven for 1 hour—this prevents cracks.
-
Remove from the oven and allow to cool completely at room temperature.
-
Cover and refrigerate for at least 4 hours, preferably overnight.
Step 4: Make the Cherry Topping
If using canned cherry pie filling: Simply spoon over the cheesecake once chilled.
If making it homemade:
-
In a saucepan, combine cherries, sugar, and lemon juice over medium heat.
-
Stir until the cherries release juices and the mixture simmers.
-
Add the cornstarch slurry and cook for 2–3 more minutes, until thickened.
-
Let it cool completely before topping the cheesecake.
🎉 Final Touches
Once your cheesecake is chilled and your cherry topping is ready, it’s time for the magic moment. Spread the cherry topping generously over the cheesecake and garnish with:
-
Chocolate shavings or curls
-
Whipped cream swirls
-
A sprinkle of powdered sugar
Then slice, serve, and enjoy the oohs and ahhs from your guests—or yourself!
Pro Tips for Cheesecake Success
-
Use a water bath: For a perfectly smooth top with no cracks, wrap the springform pan in foil and place it in a larger pan with hot water while baking.
-
Room temperature ingredients are key: Cold cream cheese leads to lumps.
-
Don’t overmix the eggs: It can cause your cheesecake to puff and crack.
-
Run a knife around the edge: Do this right after baking to prevent splitting as the cake cools.
Storage & Freezing
-
Refrigerate: Keeps well for up to 5 days covered in the fridge.
-
Freeze: You can freeze the whole cheesecake or individual slices (without the cherry topping) for up to 2 months. Thaw overnight in the refrigerator.
Final Thoughts
This Cherry Chocolate Cheesecake is more than just a dessert—it’s a celebration of rich flavors and comforting indulgence. The creamy chocolate filling paired with the sweet, tart cherry topping is a match made in dessert heaven.
Whether you’re making it for a holiday, a birthday, or just because… this recipe is sure to become a favorite in your baking rotation.