Sourdough Starter Recipe
Creating your own sourdough starter from scratch is a rewarding process that involves cultivating wild yeast and bacteria to develop the perfect base for making sourdough bread. This natural fermentation process can take a bit of time and patience, but with a little dedication, you can have your own homemade starter that will help you bake delicious sourdough bread. Below is a step-by-step guide to creating your sourdough starter.
Ingredients:
- Whole wheat flour (or rye flour for best results) – this will help to jump-start the fermentation process due to the higher nutrient content.
- Filtered or non-chlorinated water – tap water often contains chlorine or chloramine, which can inhibit yeast growth. It’s best to use filtered or bottled water, or let tap water sit for 24 hours to allow the chlorine to dissipate.
Equipment:
- A glass, plastic, or ceramic jar (avoid metal, as it can react with the starter).
- A spoon or spatula for mixing.
- A kitchen scale (recommended for accuracy).
- A cloth or paper towel to cover the jar, or a loose-fitting lid.
Day 1: Starting the Process
-
Measure and mix: In your jar, combine 100 grams of whole wheat flour (you can also use rye flour if preferred) with 100 grams of filtered water. Stir well to create a thick paste-like mixture.
-
Cover and let sit: Cover the jar with a cloth or paper towel, securing it with a rubber band or string to keep the air flowing but protect the starter from dust or debris. Let the jar sit at room temperature, ideally between 68°F and 75°F (20°C to 24°C), for 24 hours.
Day 2: First Feeding
-
Check for activity: On the second day, check for any signs of bubbles or a slight sour smell. It’s okay if you don’t see much activity yet—sometimes it takes a little longer for the yeast to settle in.
-
Feed the starter: Discard about half of the mixture (roughly 100 grams). Then, add 100 grams of water and 100 grams of flour (you can switch to all-purpose flour after the first day if you want, or continue with whole wheat). Stir to combine, cover, and let sit for another 24 hours at room temperature.
Day 3: Observing Progress
-
Activity check: By day 3, you should begin to see more bubbles and notice a slightly tangy smell coming from the starter. If you don’t see many bubbles, don’t be discouraged. This process can take time. The yeast is still establishing itself.
-
Feed the starter: Again, discard about half of the starter and then feed it with 100 grams of water and 100 grams of flour. Mix well and cover as before. Let sit for another 24 hours.
Day 4: Continue Feeding
-
More activity: On day 4, you should see more bubbles and smell a more pronounced sour scent. It may even double in size within 4-6 hours of feeding. The starter is becoming more active!
-
Feed again: Repeat the process of discarding half and feeding with 100 grams of water and 100 grams of flour. You should now begin to see consistent bubbling and growth after each feeding. Let it sit for another 24 hours.
Day 5: Ready for Use
-
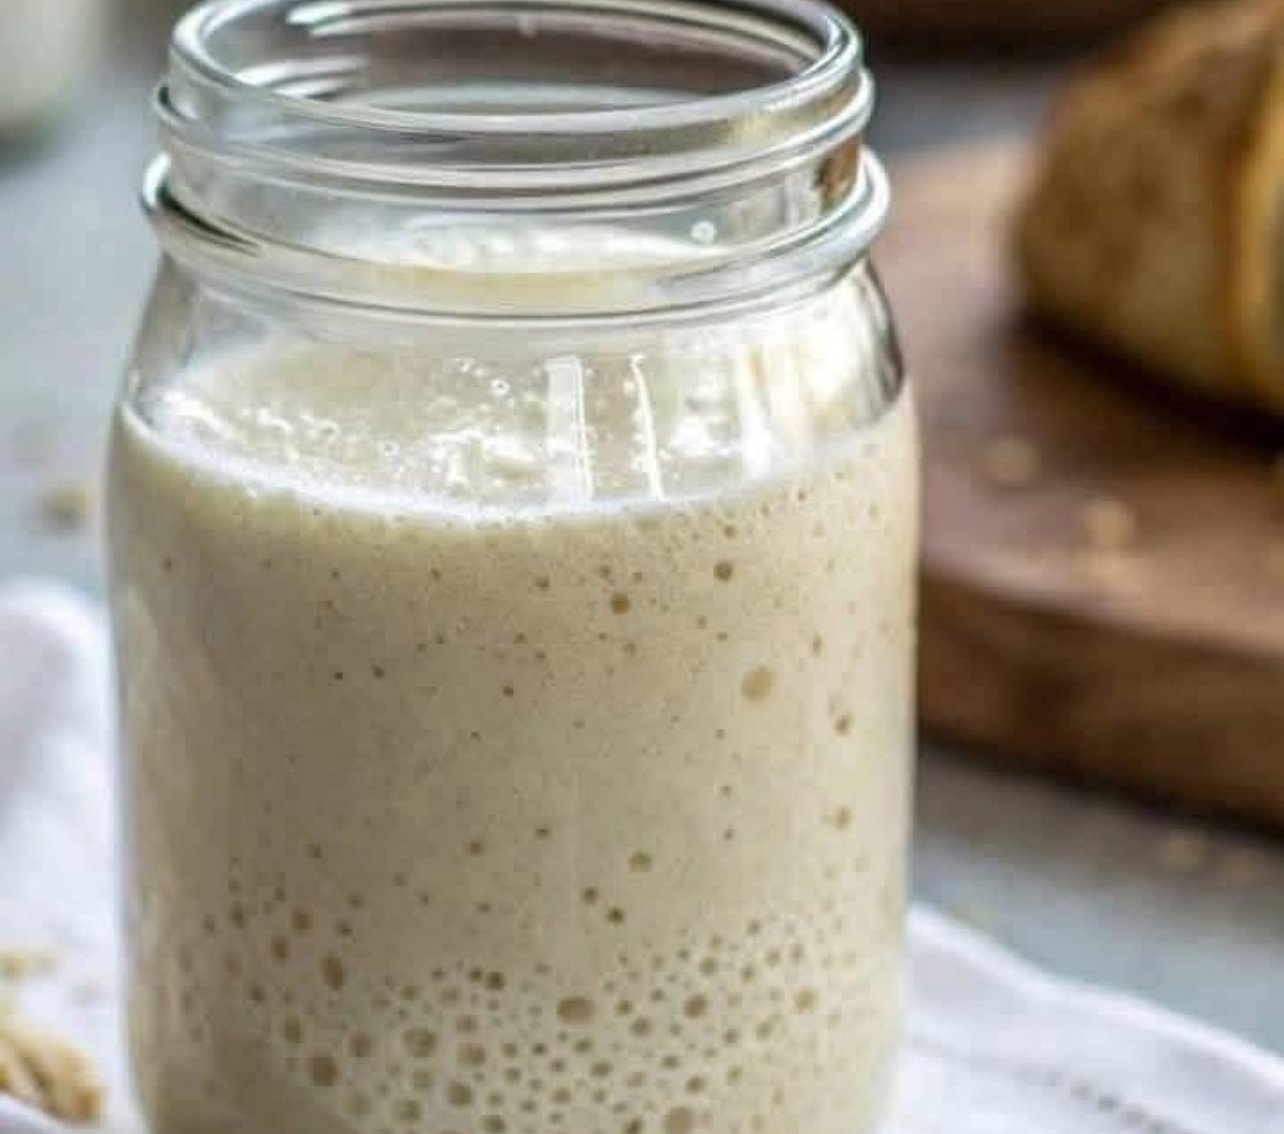
Check for readiness: By day 5, your starter should be quite bubbly and should double in size within 4-6 hours of feeding. The smell should be tangy but not unpleasant. At this point, your starter should be ready to use for baking!
-
The “float test”: To ensure your starter is ready, perform the “float test.” Take a small spoonful of the starter and drop it into a glass of water. If it floats, it’s ready to use. If it sinks, continue feeding for a few more days.
Ongoing Maintenance of Your Sourdough Starter
Now that your starter is ready, you can use it for baking! However, it’s important to maintain your starter to keep it healthy and active.
-
Feeding schedule: If you’re baking regularly, keep your starter at room temperature and feed it once a day (discarding half before each feed). If you’re baking less often, you can store your starter in the refrigerator and feed it once a week.
-
Feeding ratios: When feeding your starter, you can adjust the flour and water ratios. For example, if you’re only baking occasionally, you can scale down the quantities of flour and water you add. You can feed it with a 1:1:1 ratio (1 part starter, 1 part water, and 1 part flour by weight) or a higher hydration ratio if you prefer a more liquid starter.
-
Discarded starter: The starter you discard after each feeding isn’t waste; it can be used in recipes like pancakes, waffles, or even sourdough discard crackers.
Troubleshooting
-
No bubbles or rising: If you’re not seeing bubbles or growth, your starter may need more time. Keep it warm (but not too hot) and continue feeding. Make sure you are using clean, filtered water and the proper flour. Don’t give up—some starters take longer than others to fully develop.
-
Overly sour smell: If the sour smell is overpowering or unpleasant, you may need to adjust the ratio of flour and water or try feeding it more frequently.
-
Black liquid on top (hooch): If you see liquid on top of your starter, this is called “hooch.” It’s a sign that the starter is hungry and needs to be fed. Simply stir the hooch back in or discard it before feeding your starter.
With patience and care, your sourdough starter will become a beloved kitchen companion, capable of creating delicious, tangy, and airy sourdough bread. Happy baking!